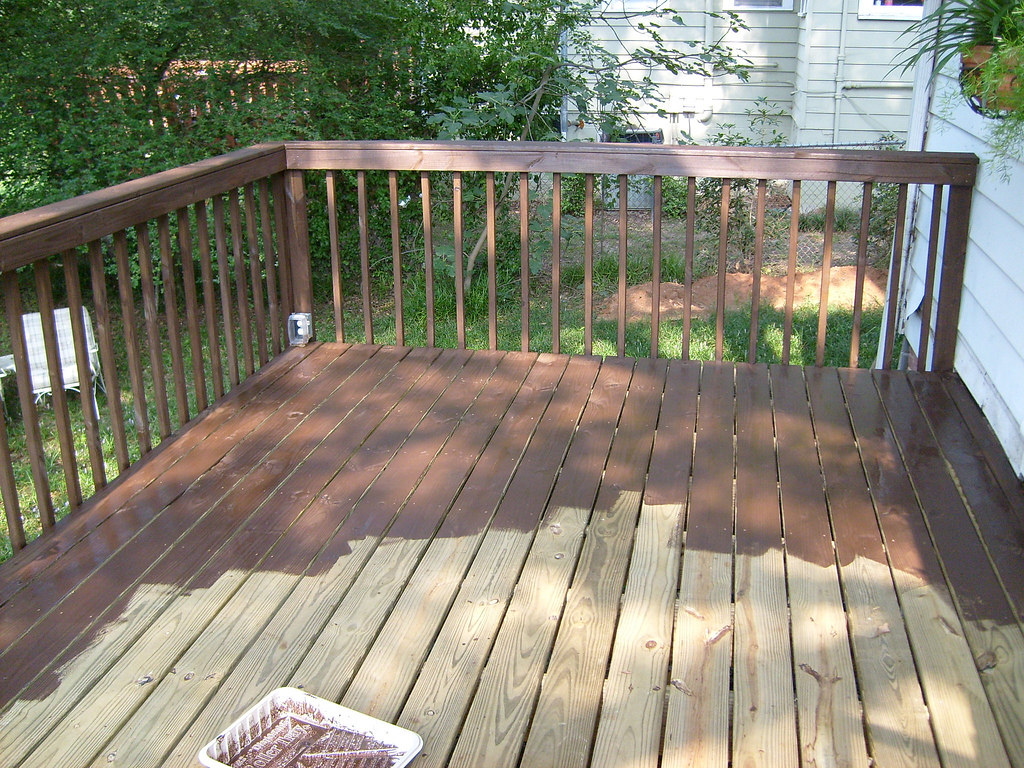
Finishing Touches: Stains, Paints & Varnishes
Woodworking is a craft that thrives on detail. The design, joinery, and construction of a piece are vital, but the finishing touches—the stains, paints, and varnishes—elevate it from functional to exceptional. A good finish protects the wood, enhances its beauty, and gives the final product a polished, professional look. Let’s dive into the world of finishes and explore how to make your woodworking projects stand out.
Choosing the Right Finish
The first step in finishing a woodworking project is choosing the right type of finish. Here’s a quick breakdown:
- Stains: Ideal for highlighting the natural beauty of wood grain, stains come in a variety of shades, from light oak to deep mahogany. They’re perfect for enhancing the natural texture and character of wood without masking its inherent beauty.
- Paints: When you want to add a splash of color or cover imperfections, paint is your go-to. Available in countless shades and finishes (matte, satin, gloss), paint allows for endless creative possibilities.
- Varnishes: These transparent or slightly tinted finishes are designed to protect wood while adding a subtle sheen. Varnishes come in matte, satin, and gloss finishes and are great for pieces that need durability and elegance.
Preparing Your Surface
Before applying any finish, proper preparation is key:
- Sanding: Smooth out the surface using progressively finer grits of sandpaper. Start with 80-grit for rough surfaces and finish with 220-grit for a silky smooth feel.
- Cleaning: Dust and debris can ruin your finish. Use a tack cloth or a vacuum with a brush attachment to remove all particles from the surface.
- Conditioning (Optional): For softwoods or unevenly porous woods, consider applying a wood conditioner. This helps stains absorb more evenly.
Applying Stains
- Test First: Always test your stain on a scrap piece of wood or an inconspicuous area to see how it interacts with the wood.
- Apply Evenly: Use a brush or a clean cloth to apply the stain, working in the direction of the wood grain.
- Wipe Excess: After letting the stain sit for a few minutes, wipe away any excess with a clean, dry cloth.
- Layer If Needed: For a deeper color, apply additional coats, allowing each layer to dry completely before adding the next.
Painting Techniques
- Primer First: Apply a primer to create a smooth base and help the paint adhere better.
- Thin Coats: Apply thin coats of paint with a brush or roller, allowing each coat to dry before adding another.
- Sand Between Coats: Lightly sand between coats with fine-grit sandpaper for a smoother finish.
- Seal It: For extra durability, apply a clear topcoat over the paint.
Varnishing for Protection and Shine
- Thin Layers: Use a high-quality brush to apply thin, even coats of varnish. Thick layers can lead to bubbles and uneven drying.
- Sand Between Coats: Lightly sand between coats with 320-grit sandpaper for a flawless finish.
- Patience is Key: Allow each coat to dry fully before adding another. Most varnishes require two to three coats for optimal protection.
Tips for Success
- Work in a Dust-Free Environment: Dust can settle on your finish and ruin its smoothness.
- Follow the Manufacturer’s Instructions: Each product has specific drying times and application guidelines. Stick to them for the best results.
- Experiment and Practice: Don’t be afraid to experiment with different finishes on scrap wood to find the look you love.
Final Thoughts
The finishing touches are what make your woodworking projects truly shine. Whether you’re aiming for a natural look with a stain, a vibrant pop of color with paint, or a durable, glossy finish with varnish, the right technique and a little patience will make all the difference. Take the time to prepare your surface, choose the best products for your project, and apply with care. Your hard work will pay off in a piece that’s as beautiful as it is enduring.


